SimEyeSee Logo

Open Warning EmBlazeGuard Panel

A high-visibility EmBlazeGuard panel designed for immediate recognition, clearly signaling that the printer door is open and clearance is required.

Overview

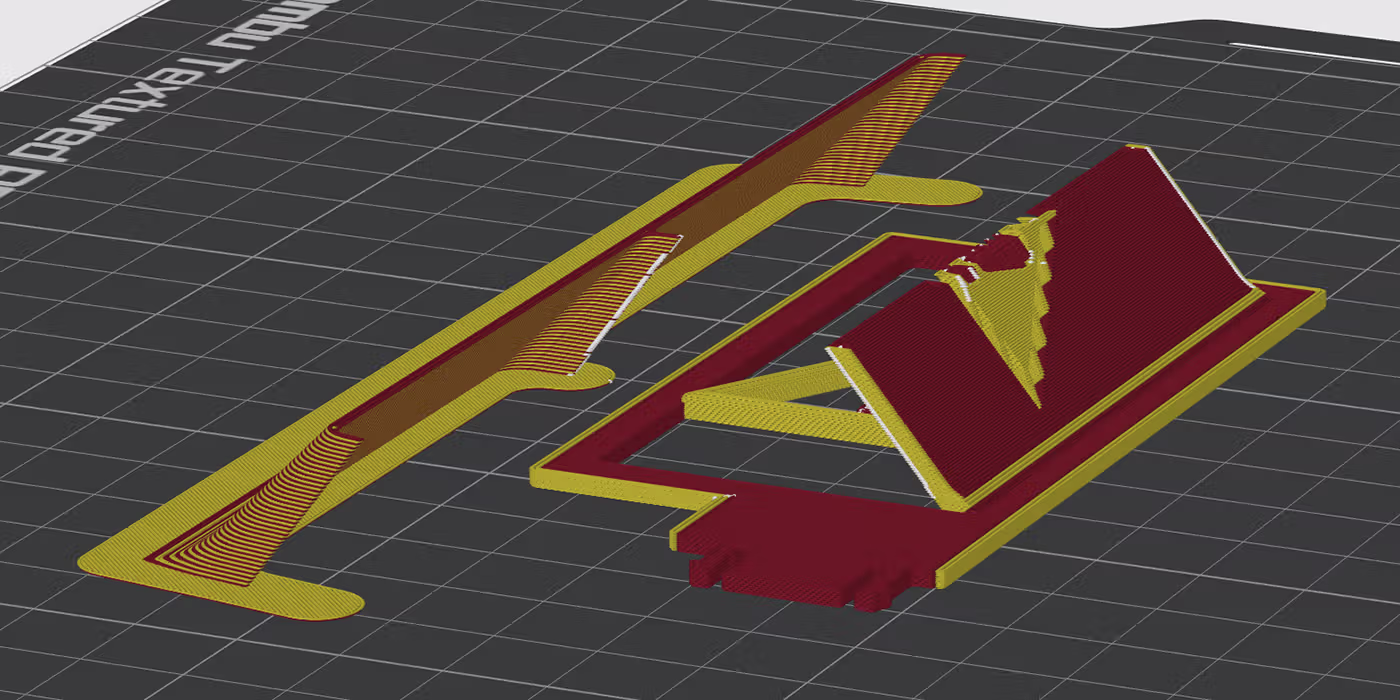
⚠️ Modifier warning: This panel uses Modifiers for edge/frame color control. Please read the Modifiers section below—incorrect modifier setup can negatively affect the intended design and print results.


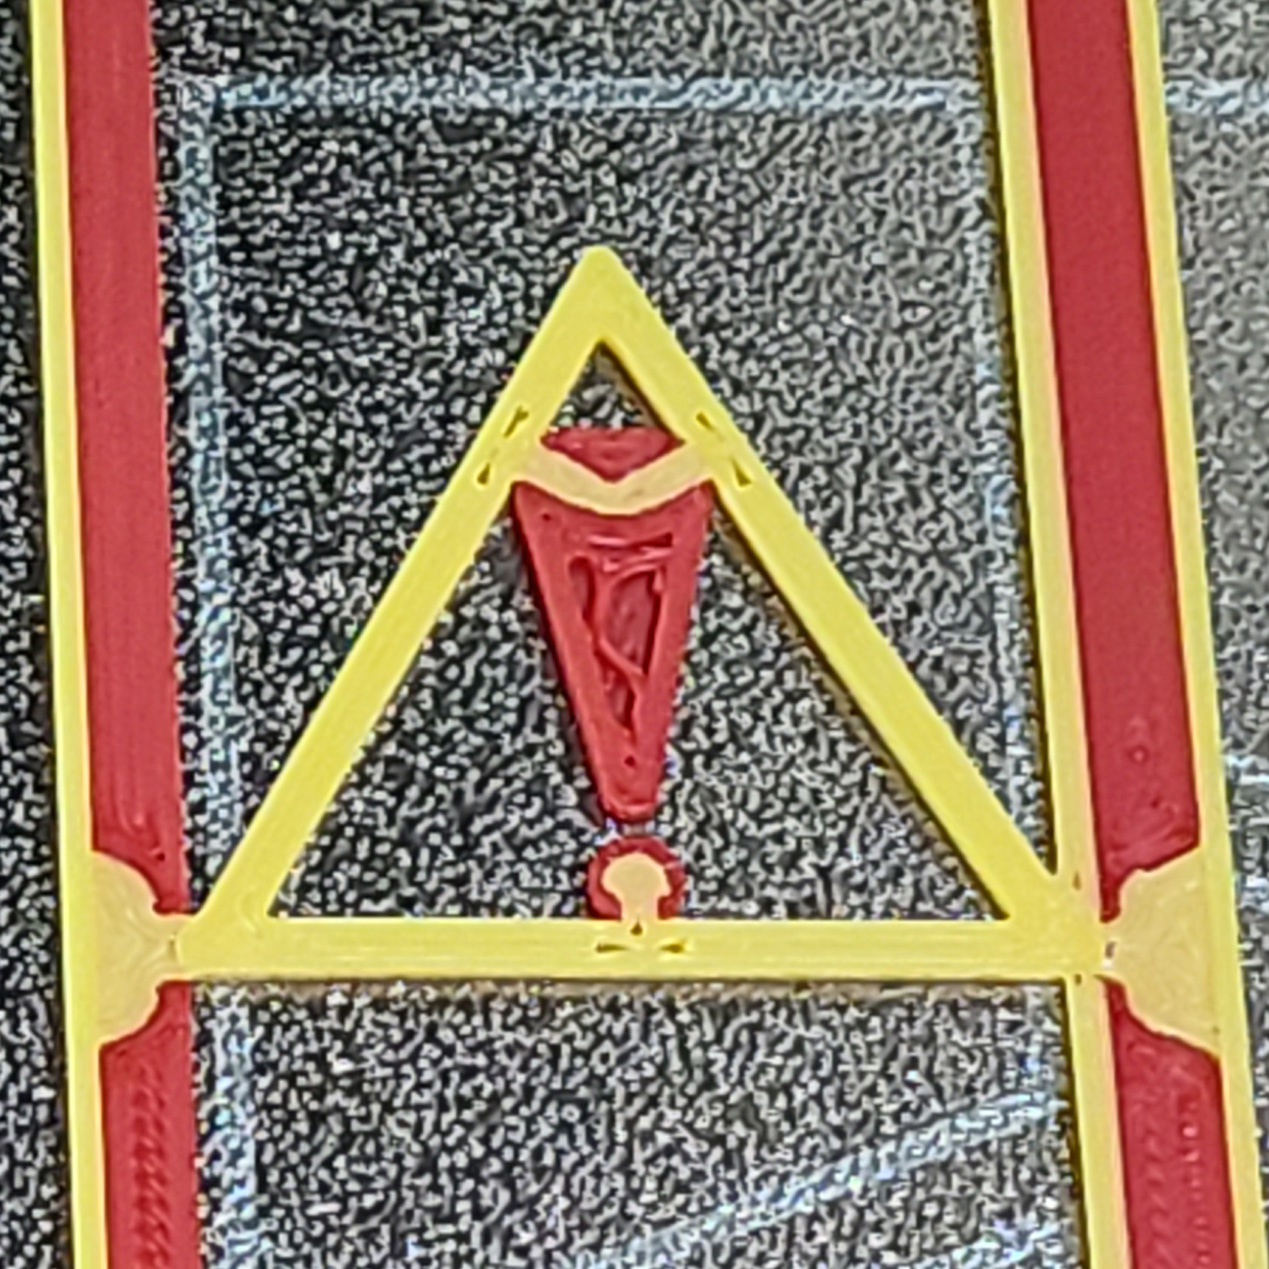
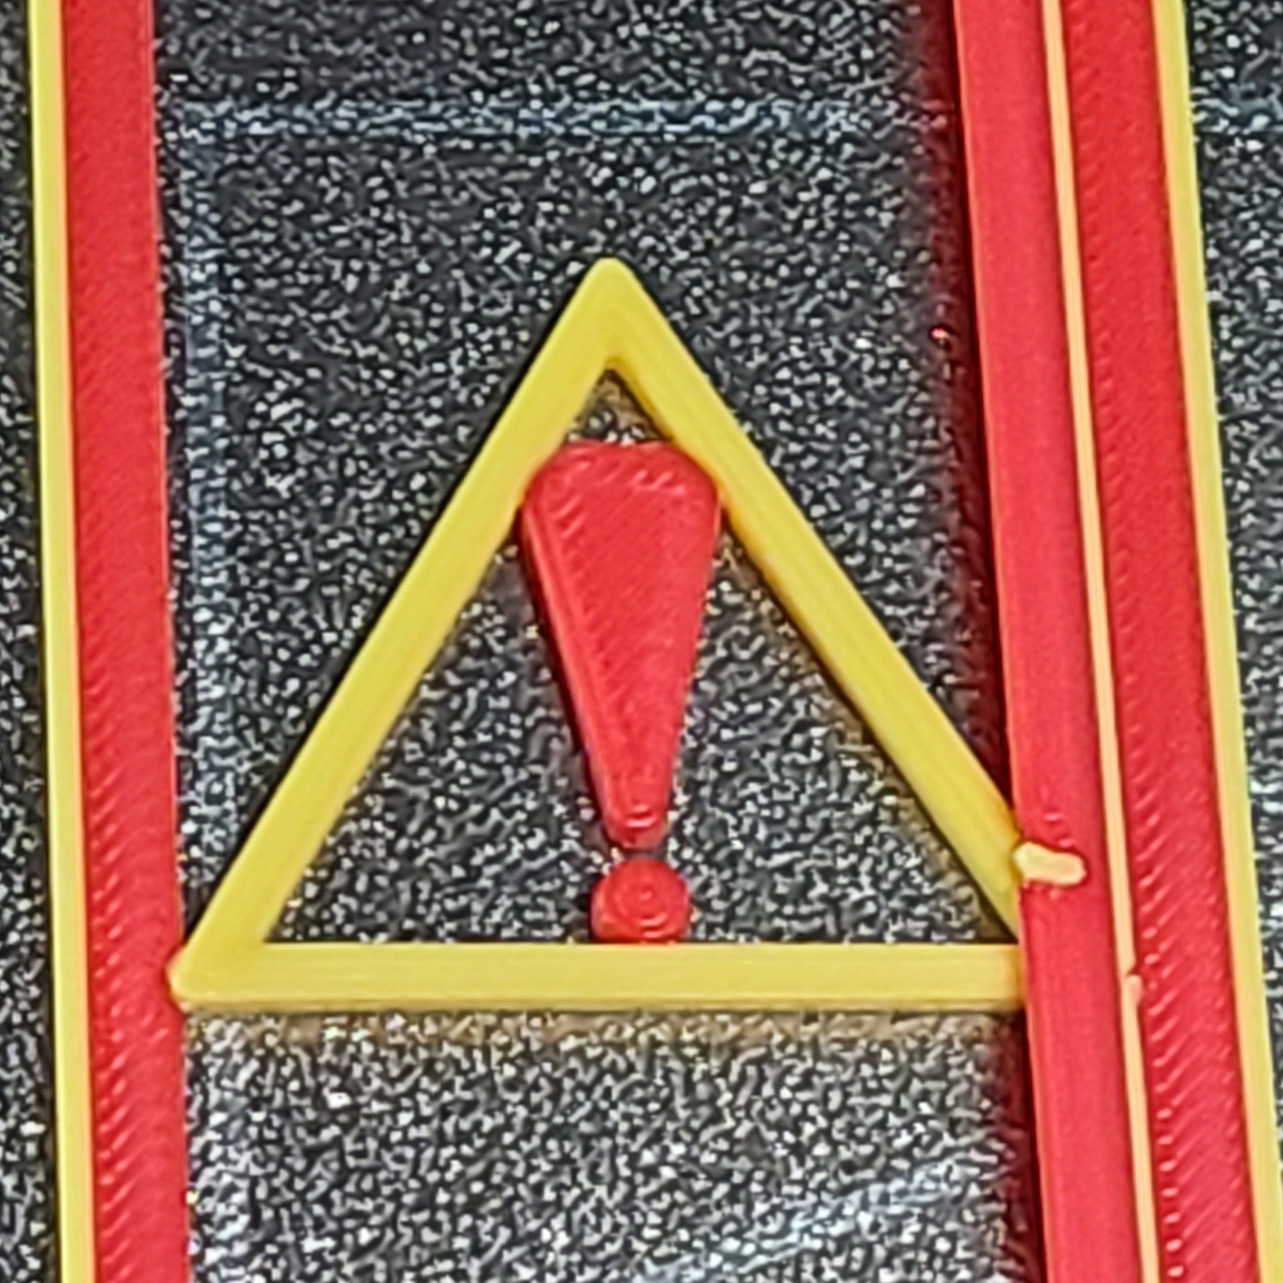
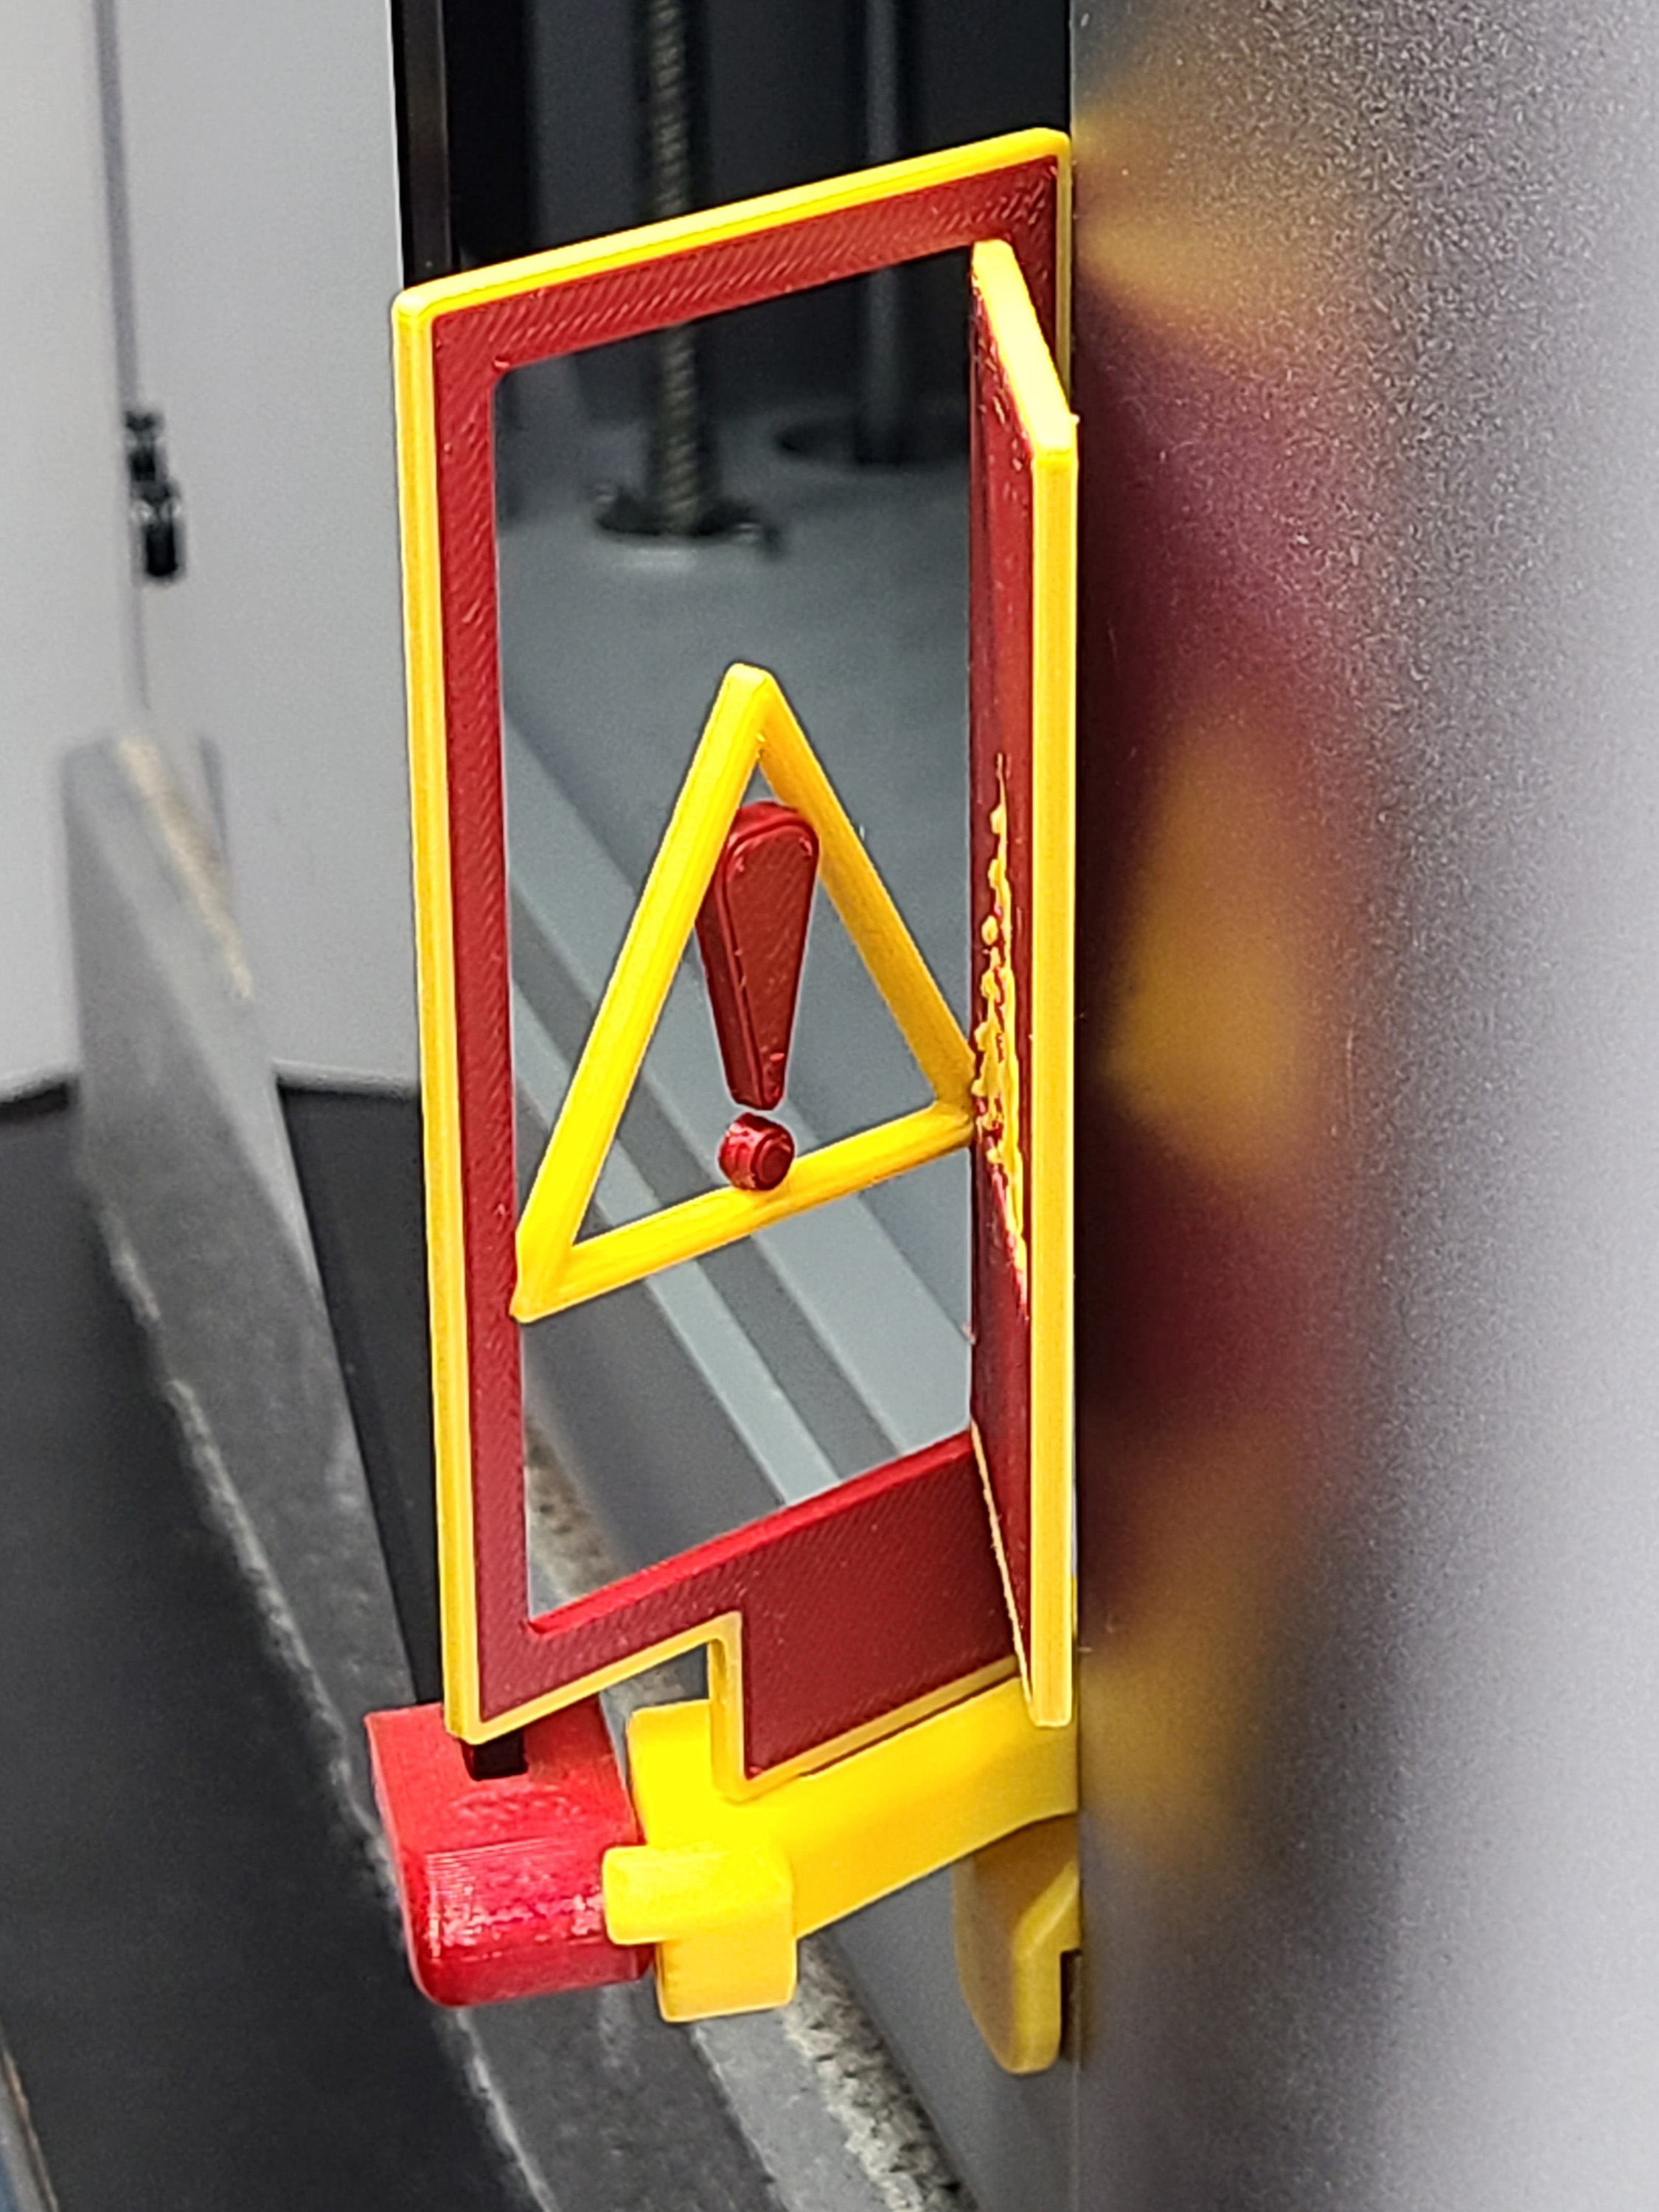
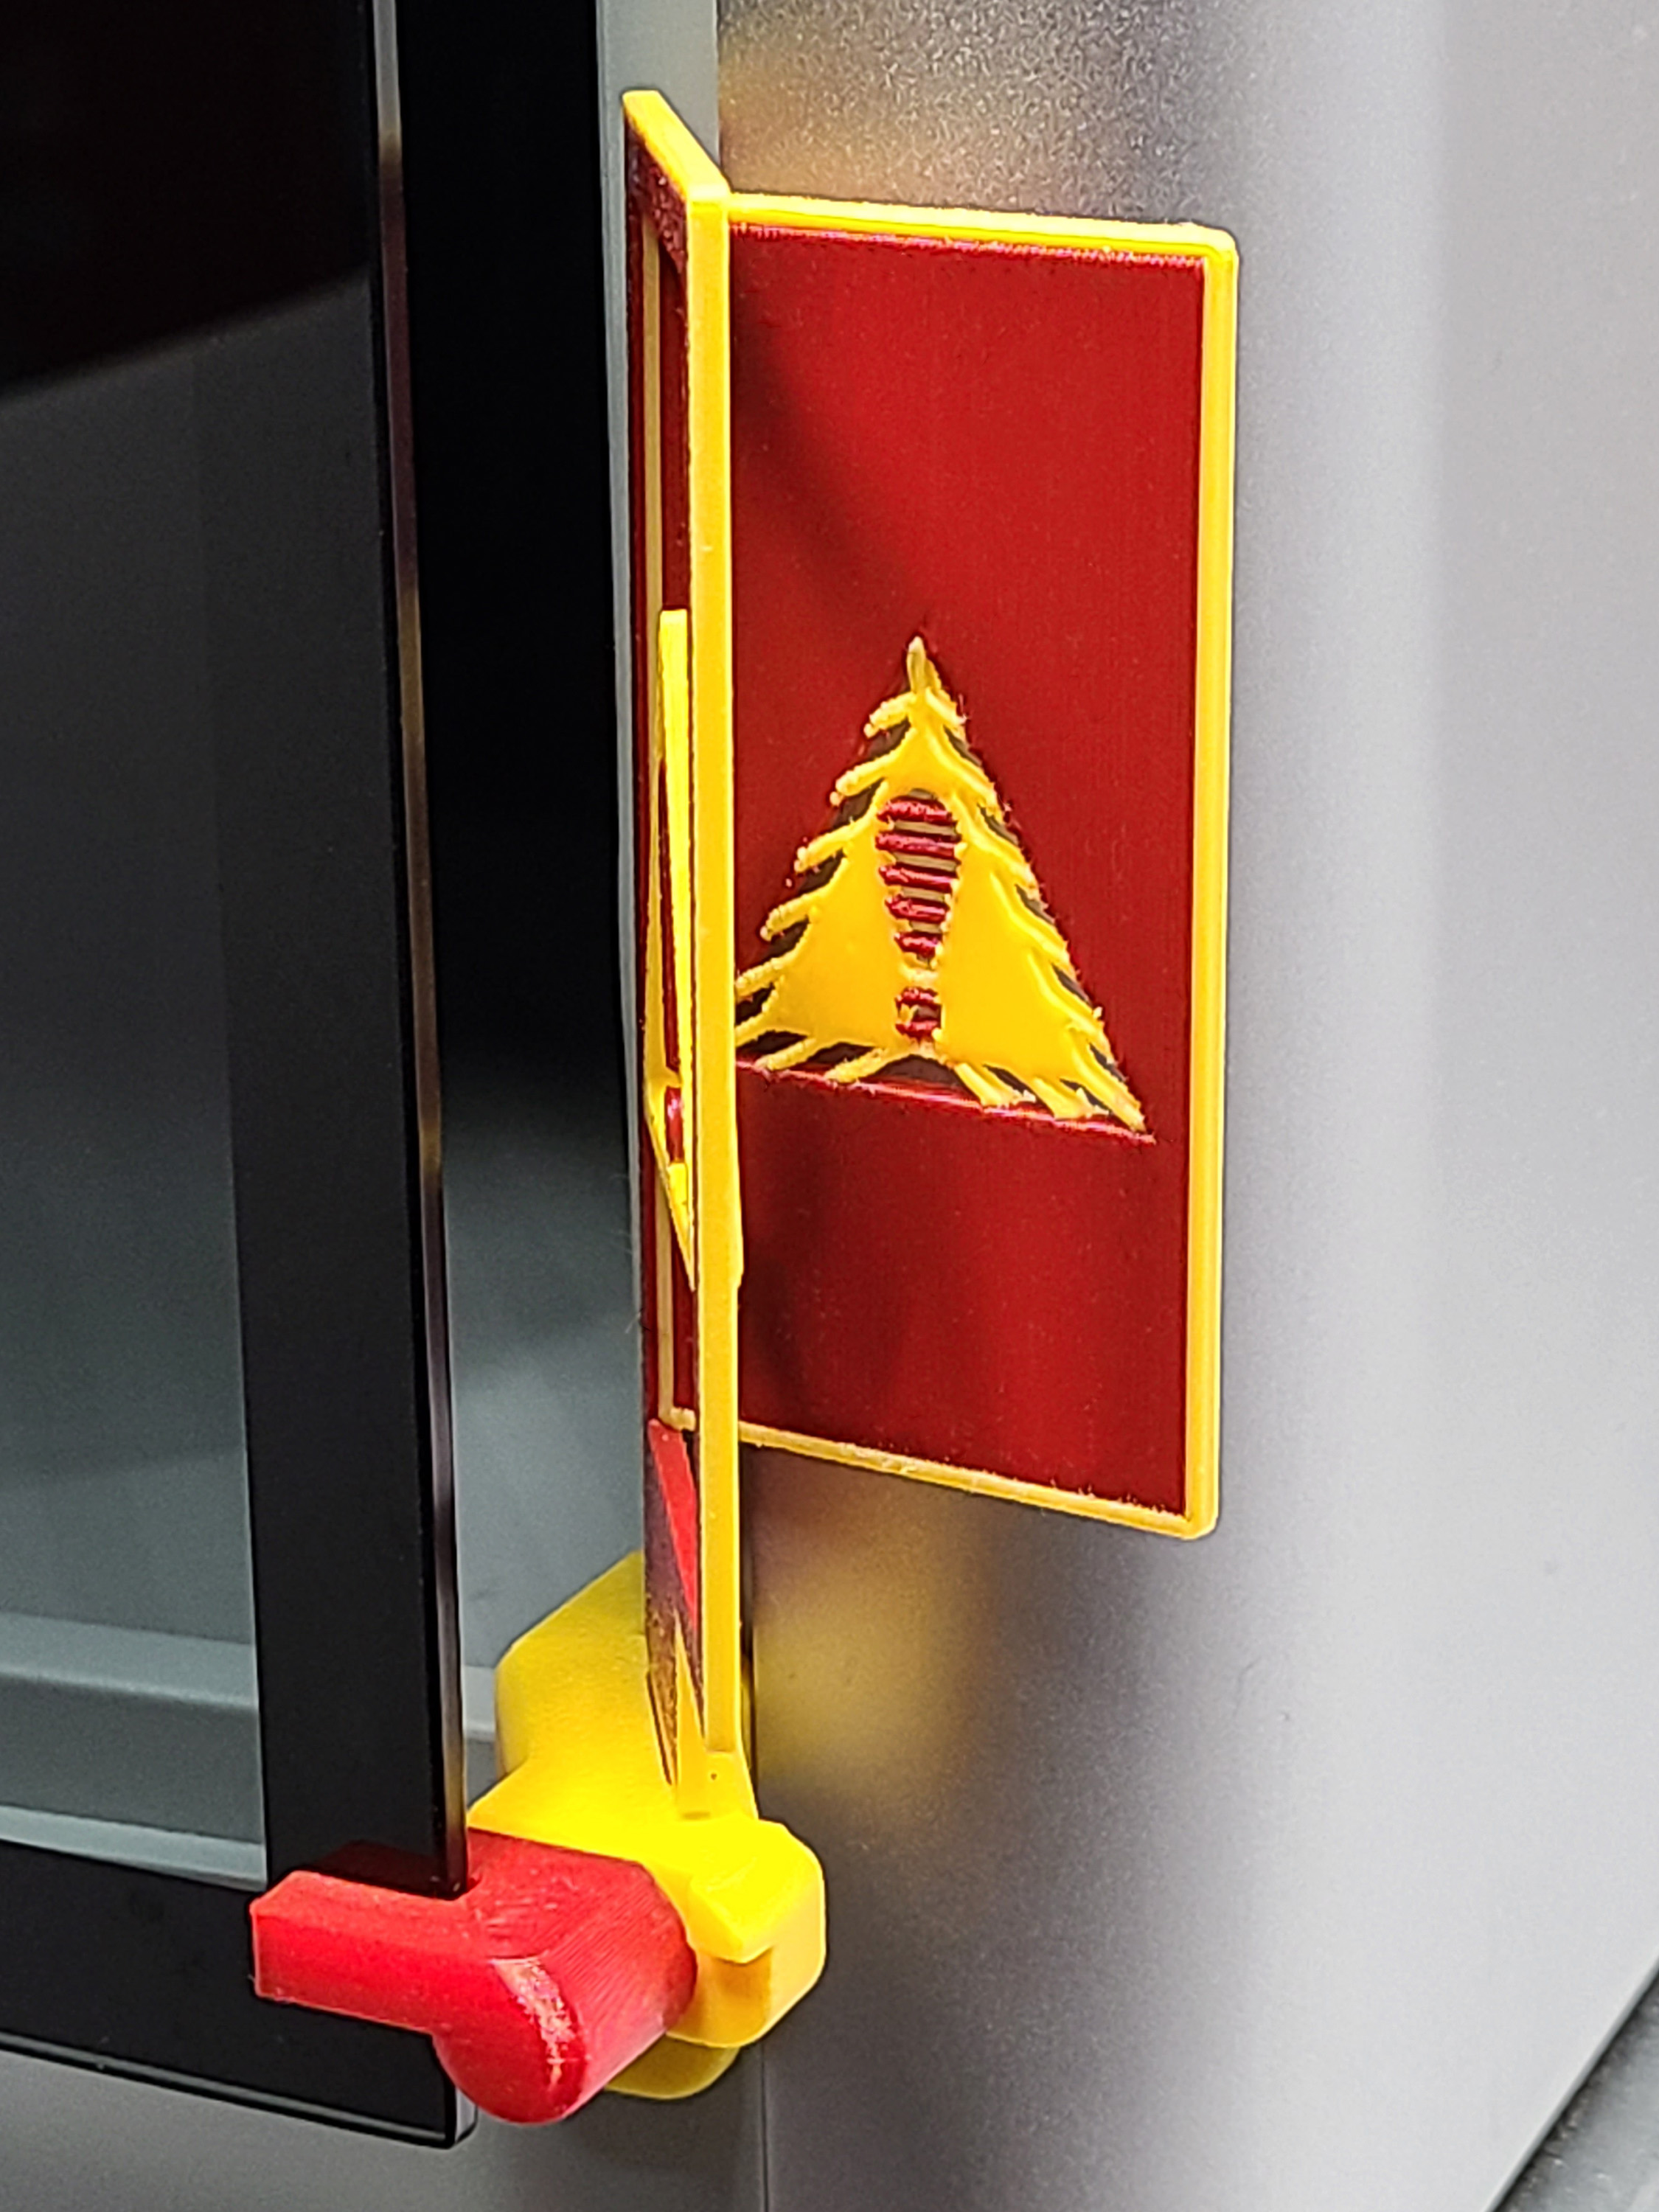
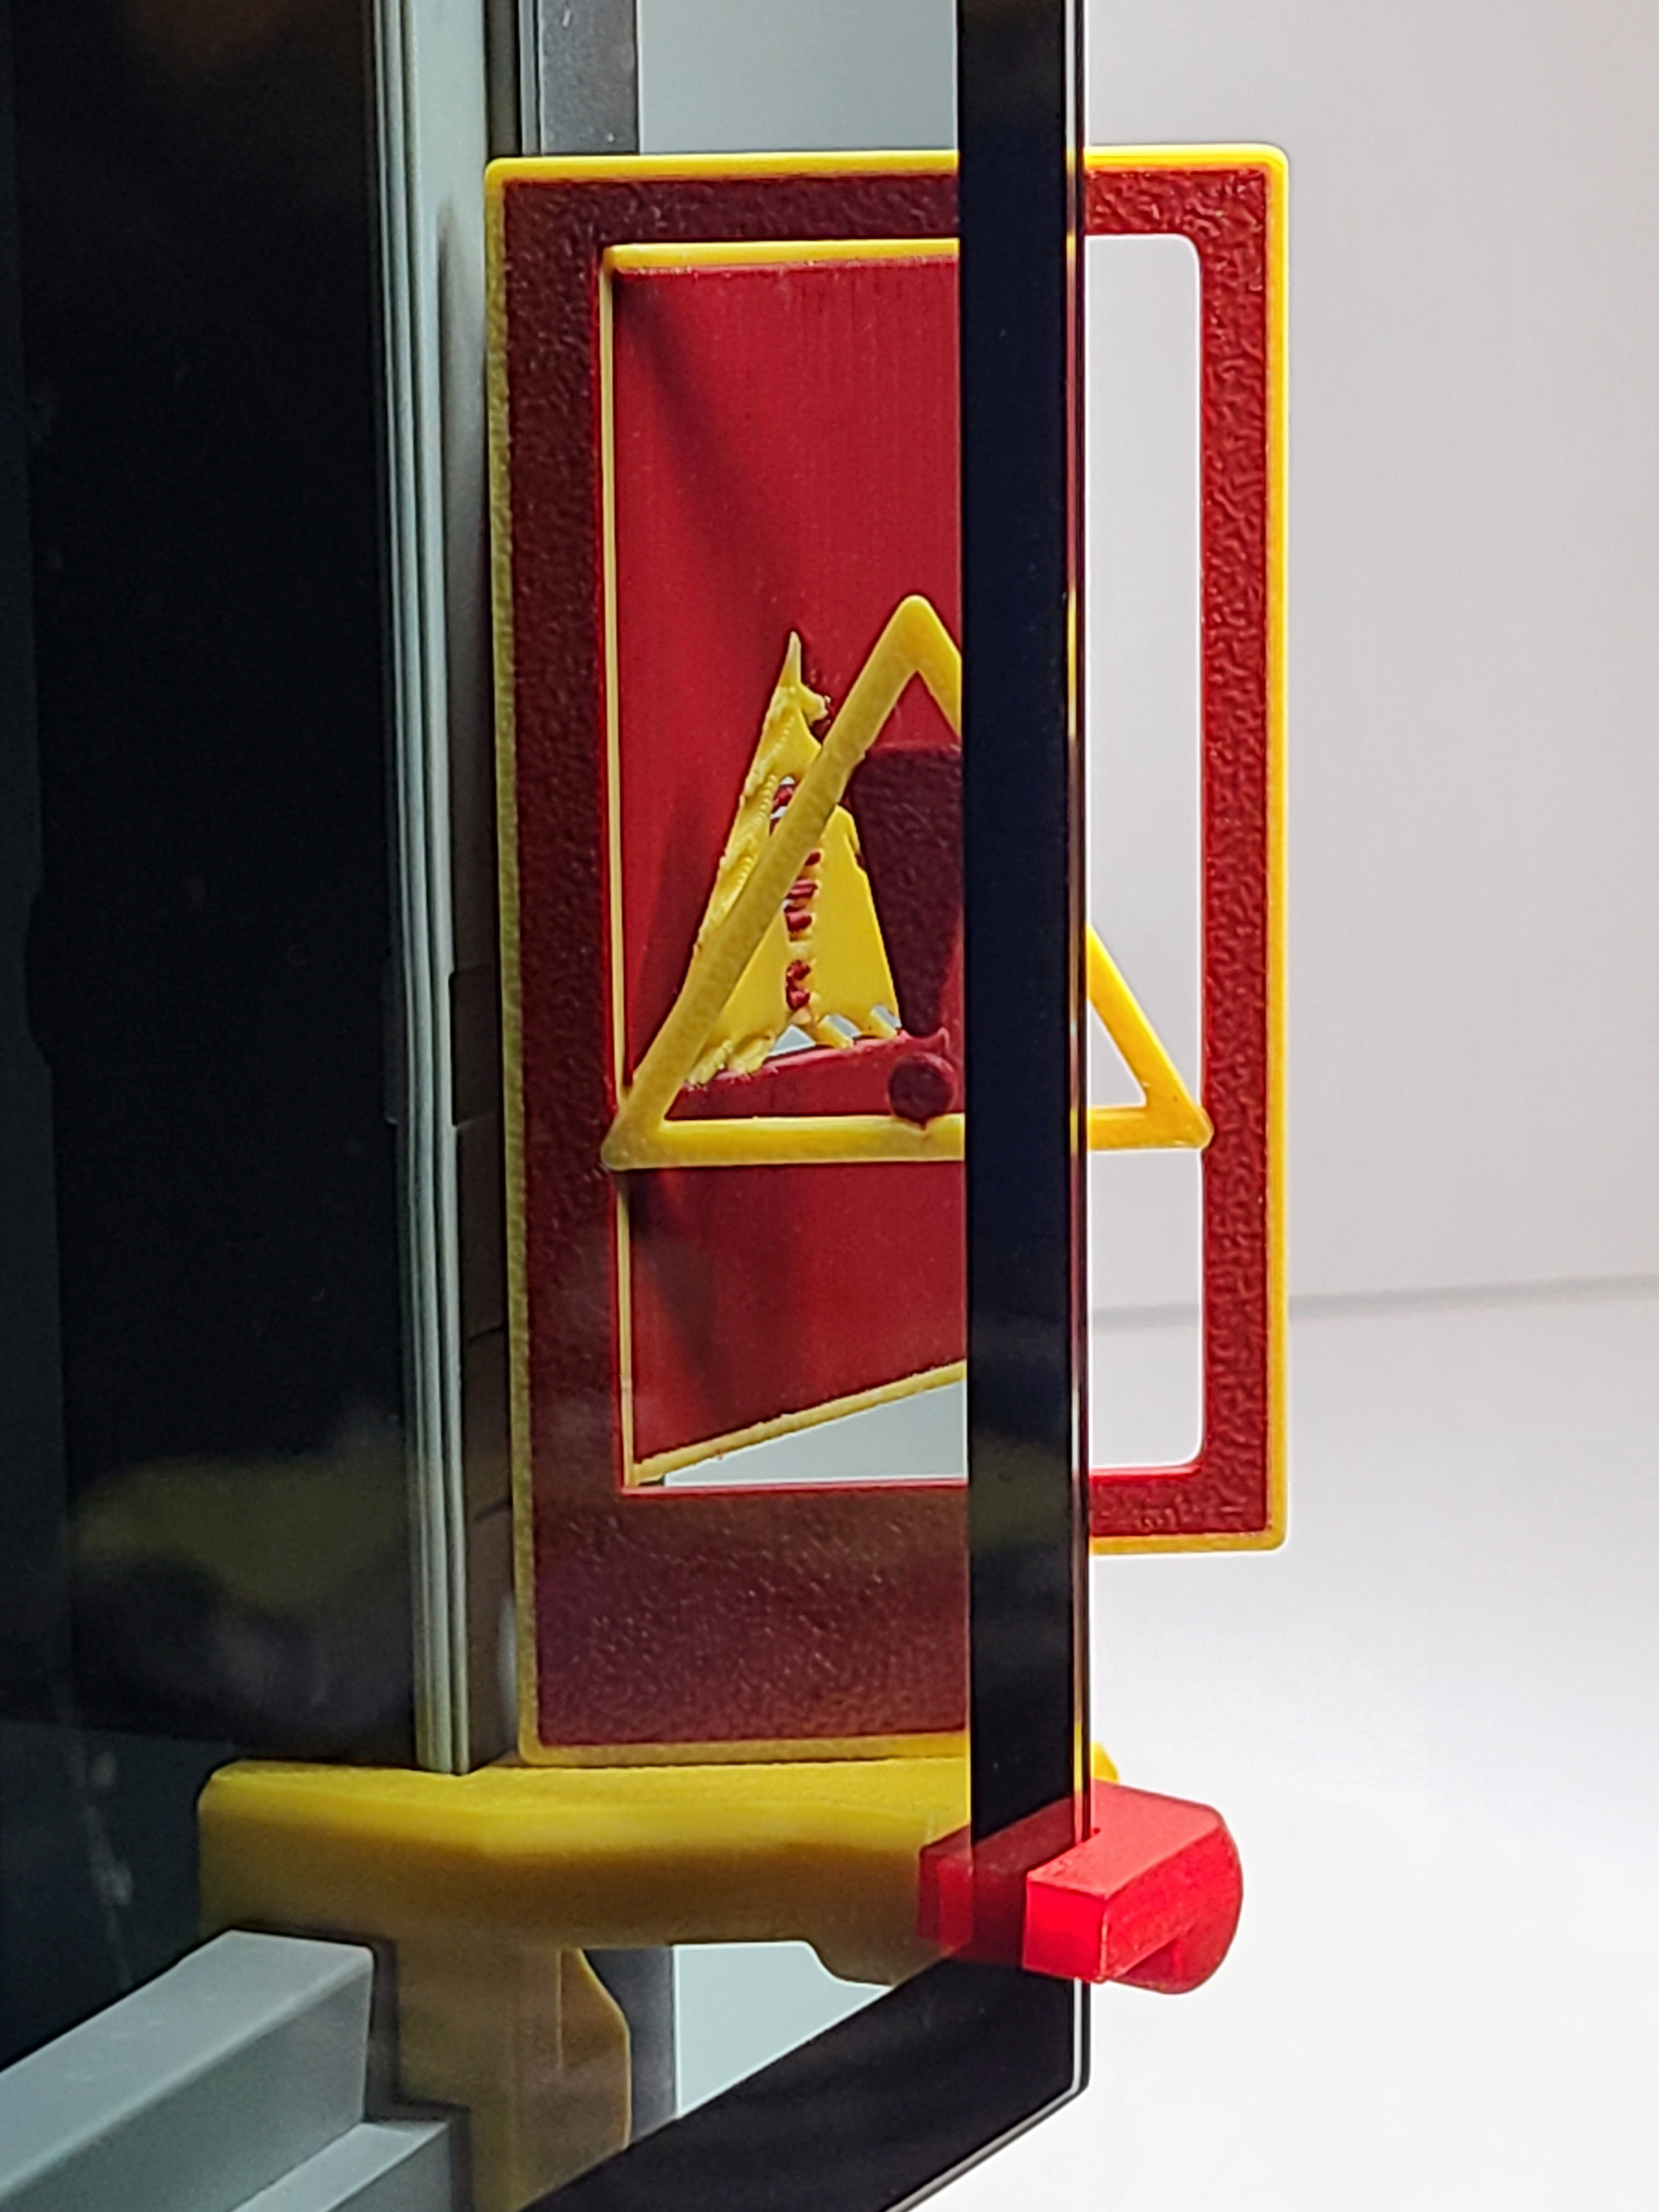
The Open Warning panel is designed for maximum visibility and immediate recognition. With bold warning colors and a clear hazard-style layout, it makes it unmistakable that the printer door is open and clearance is required.

This panel is especially well-suited for shared workspaces, makerspaces, classrooms, and print farms.

For the full EmBlazeGuard system overview and installation instructions, visit: SimEyeSee.com/EmBlazeGuard/

Back to Top

Design Detail: Reinforced Warning Symbol

This panel was designed so the warning symbol prints cleanly and is harder to accidentally break. The triangle is engineered to anchor into the frame and also anchor into the exclamation mark (both the line and the dot), reinforcing the entire symbol as a single structure.

Back to Top

Printing Notes

Recommended Setup

  • Material: PLA
  • Orientation: Print face-up as provided
  • Supports: Not required
  • Recommended colors: Yellow frame, red interior
  • Auxiliary part cooling fan: 70%

⚠️ Important: Allow the build plate to fully cool before removing the print. Removing the panel while warm can flex the plate and place stress on the warning symbol, which may cause damage to the triangle or exclamation mark.

For general EmBlazeGuard printing guidance (holder + latch fork), see: SimEyeSee.com/EmBlazeGuard/#Printing

Process Settings Used

  • Wall generator: Arachne
  • Sparse infill density: 35%
  • Sparse infill pattern: Honeycomb
  • Overhang speed (25%): 30
  • Overhang speed (50%): 25

Cooling (All Filaments)

  • Auxiliary part cooling fan: 70%
  • Special cooling (first 1 mm / 5 layers): 0% Fan Speed

Retraction (As Used)

  • Length: 1.7 mm
  • Z hop when retract: 0.4 mm
  • Z Hop Type: Normal
  • Retraction speed: 33 mm/s
  • Deretraction speed: 33 mm/s
  • Length when change hotend: 14 mm
  • Travel distance threshold: 1 mm
  • Retract when change layer: Enabled
  • Long retraction when cut (experimental): Enabled
  • Retraction distance when cut: 18
Back to Top

SimEyeSee WarpShield: Time & Material Impact

A SimEyeSee WarpShield is included with this panel so the auxiliary fan can be safely set to 70% for improved edges, surface quality, and fine detail—without fan-side warping. For more information, see the SimEyeSee WarpShield page.

WarpShield

The included 3MF is already configured using the settings described in the WarpShield Instructions.

⚠️ WARNING: If the WarpShield is not used, set the auxiliary fan to 0% to prevent fan-side warping or distortion.


Open Warning Panel: Measured Results

The values below describe the total print (panel + WarpShield), and how much the WarpShield adds. Material breakdown distinguishes normal flush to the chute from purge redirected to the WarpShield instead of being discarded.

  • Total print time (panel + WarpShield): 5h 31m
  • WarpShield time added: 13 minutes
  • Total filament used (panel + WarpShield): 94.28 g
  • Flushed to chute (regular waste): 65.59 g
  • WarpShield total: 8.57 g
  • Purge redirected to WarpShield: 8.37 g
  • Extra WarpShield material: 0.20 g

Note: For multi-color prints, most of the WarpShield is built from purge that would normally be flushed to the chute. The flush volume itself is unchanged; the difference is that some of that material is purge redirected into a useful object rather than being discarded as waste.

Back to Top

Modifiers (Important)

This model includes Modifiers that are used to control color placement along the edge of the door opening and surrounding frame. These modifiers are intentional and are part of the visual design of the panel.

In the provided 3MF file, all modifiers are already correctly configured and require no additional setup.

⚠️ Important: Some modifier volumes extend beyond the visible geometry of the part. This is expected behavior. However, if a modifier is not treated as a modifier by the slicer, it can negatively affect the intended design and print results.

STEP Workflow (Bambu Studio)

If you are using the STEP file, you must manually set the modifier bodies correctly:

  • Select all parts with the Mod prefix
  • Right-click and choose Change Type
  • Select Modifier

⚠️ If the Mod parts are not converted to modifiers, they must be deleted. Leaving them as normal parts will alter the geometry and negatively affect the print.

These modifiers are used only for color control and do not represent physical geometry intended to be printed as solid parts.

Back to Top

Licensing

This EmBlazeGuard panel is an official SimEyeSee design and is licensed under Creative Commons Attribution–NoDerivatives (CC BY-ND).

This license allows sharing and printing with attribution, but does not permit modification, remixing, or the creation of derivative works of this panel.

For remixable panels and remix guidelines, see: SimEyeSee.com/EmBlazeGuard/#Remix-Licensing

Back to Top